Calculate a File’s SHA-256 Hash with PowerShell
Calculate SHA-256 without executing a file, compare it with the correct reference, and document the limits of a hash reputation result.
 IsMalicious Team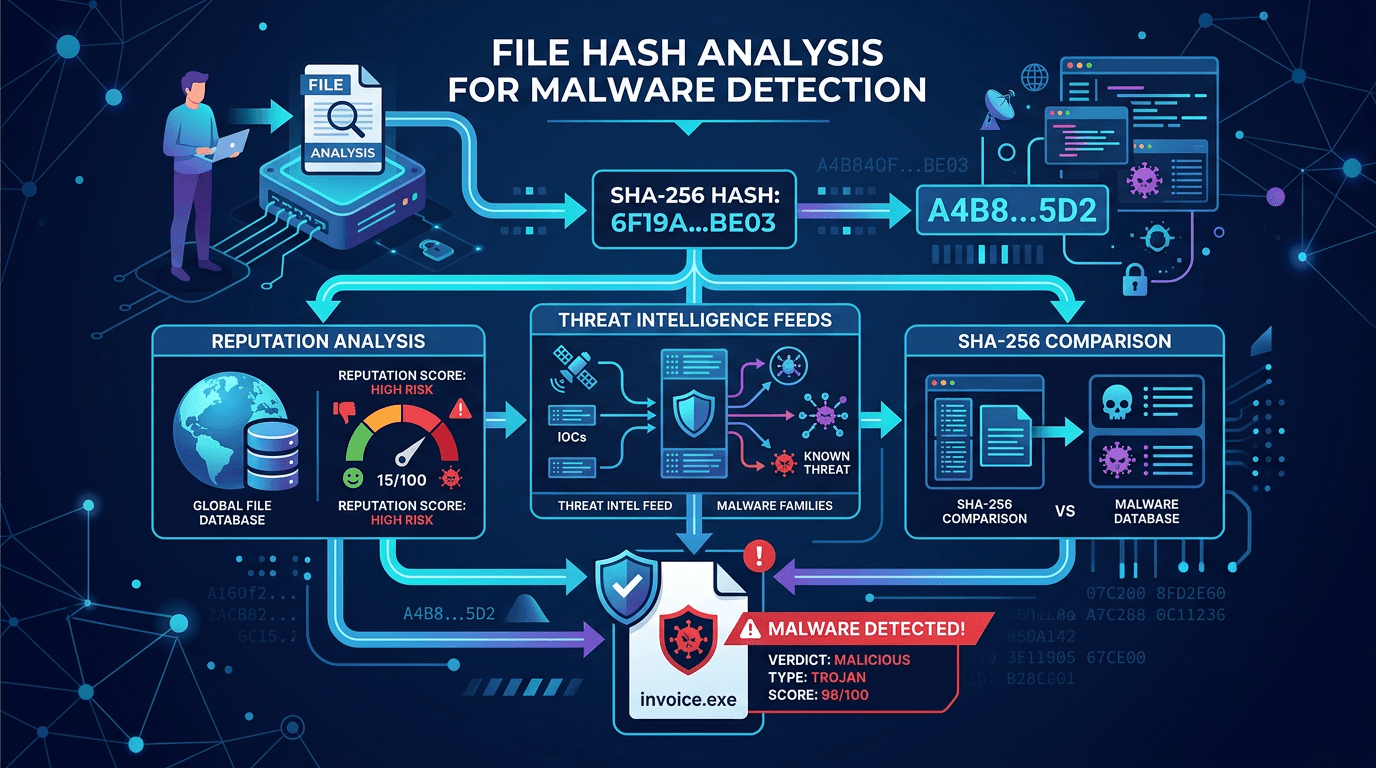
To calculate a file's SHA-256 on Windows, open PowerShell and run Get-FileHash with its exact path. The command hashes the contents without executing the program or opening the document in its usual application.
The result lets you compare two copies or look up information about the file. It is not a security verdict. A useful procedure therefore combines the command, identification of the file, and a clear rule for interpreting the lookup result.
Select the file without running it
If an attachment looks suspicious, start with your organization's reporting process. The person who received the message does not need to open it to help the security team. The procedure below is intended for whoever is authorized to handle the collected copy.
Use an analysis location intended for these files, with automatic previews disabled. Preserve the original and work on a controlled copy. Record the provenance: an email, download, EDR collection, or removable device. A hash on its own cannot explain how the file reached the endpoint.
In this fictional example, the copy is stored at C:\Analysis\attachment [1].bin. The neutral extension identifies the working copy; it does not change the nature of the contents or make them harmless.
Get-FileHash -LiteralPath 'C:\Analysis\attachment [1].bin' -Algorithm SHA256
-LiteralPath prevents the brackets in the filename from being interpreted as wildcard characters. SHA-256 is already the command's default algorithm; specifying it makes the procedure explicit. These parameters are described in Microsoft's Get-FileHash documentation.
Replace the example path with that of the collected file. Do not copy a command supplied by an email sender to “verify” their attachment. Construct the command from your own procedure.
Capture a usable evidence record
The output contains the algorithm, hash, and path. To avoid truncating the value during manual copying, store the result in a variable and export a small record. The destination directory below must already exist and be reserved for analysis results.
$analysisPath = 'C:\Analysis\attachment [1].bin'
$analysisFile = Get-Item -LiteralPath $analysisPath -ErrorAction Stop
$analysisHash = Get-FileHash -LiteralPath $analysisPath -Algorithm SHA256 -ErrorAction Stop

[pscustomobject]@{
    Path = $analysisFile.FullName
    SizeBytes = $analysisFile.Length
    Algorithm = $analysisHash.Algorithm
    SHA256 = $analysisHash.Hash
    CalculatedUtc = [DateTime]::UtcNow.ToString('o')
} | Export-Csv -LiteralPath 'C:\Analysis\results\hash.csv' -NoTypeInformation -Encoding UTF8
Run this sequence only against a stable copy. A file that is still being downloaded, synchronized, or modified by an application may not contain the same bytes between reads. An unexpected size or a changing hash needs to be investigated before interpreting its reputation.
The export also contains the internal path. Keep it in the incident record and share only the fields necessary when consulting an external service. The calculation timestamp records when you analyzed the file, not when its contents were originally created.
Compare the right hash with the right reference
Suppose a publisher provides a SHA-256 for an installer. Check that the reference matches the exact version, platform, and file. Comparing an ARM package with the value for an x64 package produces a mismatch without establishing an attack.
Obtain the reference through a publisher channel whose authenticity you have verified. If both the file and the expected value came from the same suspicious message, a match provides no independent evidence about the sender.
You can compare the values without rereading the contents:
$expectedSha256 = Read-Host 'SHA-256 from the verified reference'
if ($expectedSha256 -notmatch '^[0-9a-fA-F]{64}$') {
    throw 'The reference must contain exactly 64 hexadecimal characters.'
}
$analysisHash.Hash -ieq $expectedSha256
True indicates that the compared values match. False requires investigation: an incorrect reference, an incomplete copy, or different contents are possible explanations to distinguish. Neither result, on its own, authorizes executing an unexpected file.
Interpret a reputation lookup
If a lookup returns malicious intelligence, retain the source, date, and available evidence. Compare that information with your context: whether the file is present, whether it ran, the account involved, and any observed behavior.
If it returns nothing, record “hash unknown to this source at this time.” A recent, modified, or rarely distributed file may be absent from a database. Replacing that absence with “safe” erases the lookup's limitation.
If the result is reassuring, still check the context of use. A legitimate administration program can be used for an unauthorized operation. The binary's reputation does not prove that the person who launched it had permission to do so.
The guide to file hash reputation in incident response explains where this intelligence fits in triage. If you suspect execution, correlate it with process and network logs.
Add signature information where relevant
For a supported format, Get-AuthenticodeSignature lets you inspect the Authenticode signature. Microsoft's documentation describes the information and statuses returned.
Get-AuthenticodeSignature -LiteralPath $analysisPath |
    Select-Object Status, StatusMessage, SignerCertificate
Interpret this output separately from the hash. A missing signature does not establish that a file is malicious. A valid signature provides evidence about the signature checked, without establishing that the program belongs in your environment or that its presence in this folder is expected.
For a file inside a ZIP, also distinguish the archive's hash from those of its extracted entries. They are different objects. Extracting a suspicious attachment requires an isolated environment and a separate procedure; it should not be improvised on the user's workstation.
To add context to the case, use the file hash reputation lookup with the calculated SHA-256, without sending the file. Finish the ticket with the collected path, complete SHA-256, provenance, dated result, and next decision. This record lets a colleague resume the analysis without opening the file to rediscover what was checked.
FAQ
Frequently asked questions
Which PowerShell command calculates SHA-256?
Use Get-FileHash -LiteralPath followed by the path in single quotes, then -Algorithm SHA256. The command reads the file bytes to calculate its hash; it does not execute the contents.
Does an unknown SHA-256 mean the file is safe?
No. It only means the source queried provides no information about that hash at the time of the lookup.
Does renaming a file change its SHA-256?
Renaming a file without changing its contents does not change the hash. Changing the bytes, or hashing an archive instead of an extracted file, gives you a different object to compare.
Related articles
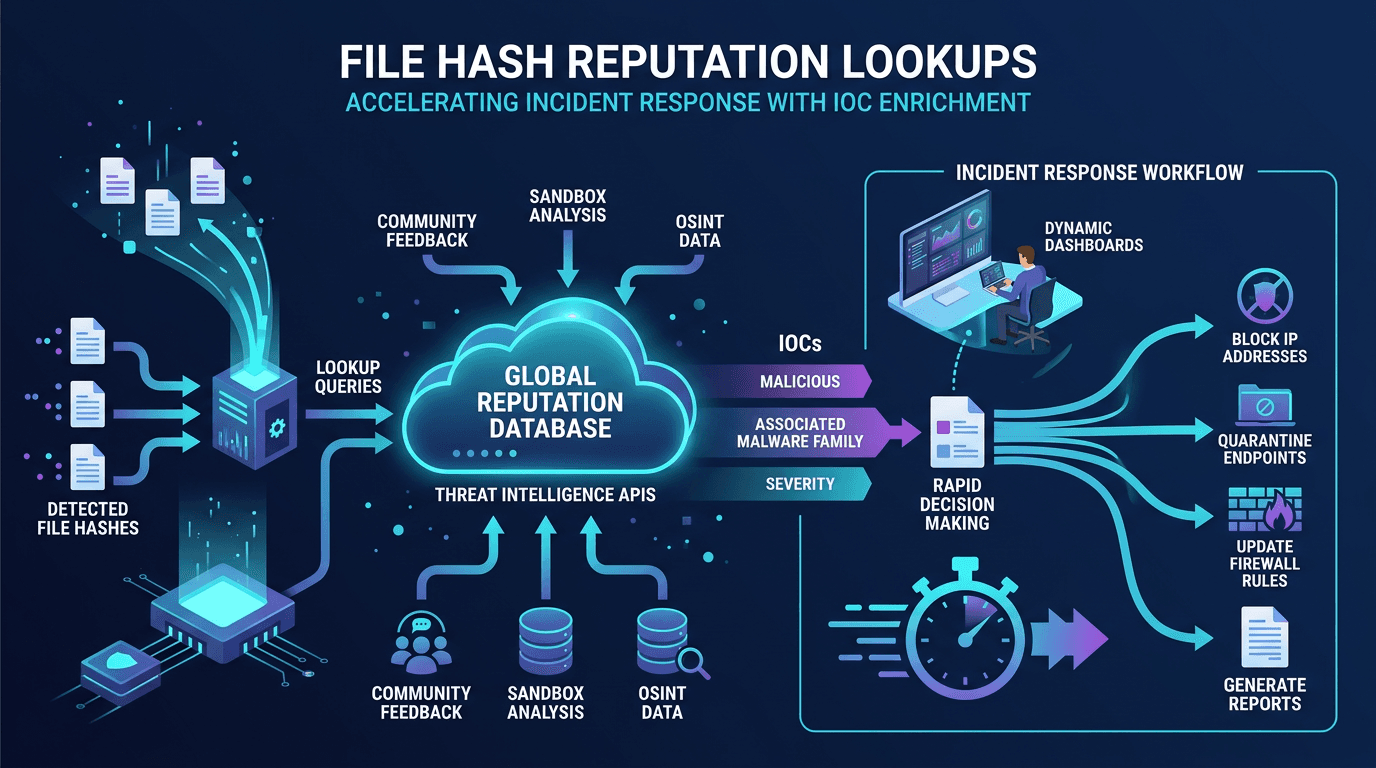 File Hash Reputation Lookups: Accelerating Incident Response With IOC Enrichment
A practitioner's guide to file hash reputation lookups—how they work, which data sources power them, how to build automated IOC enrichment pipelines, and how to integrate hash intelligence into SOC, SOAR, and incident response workflows.
- File Hash Check: Is This SHA-256 Malware?
How to check MD5, SHA-1, and SHA-256 hashes against threat intelligence, and how SOC teams use hash reputation to cut false positives.
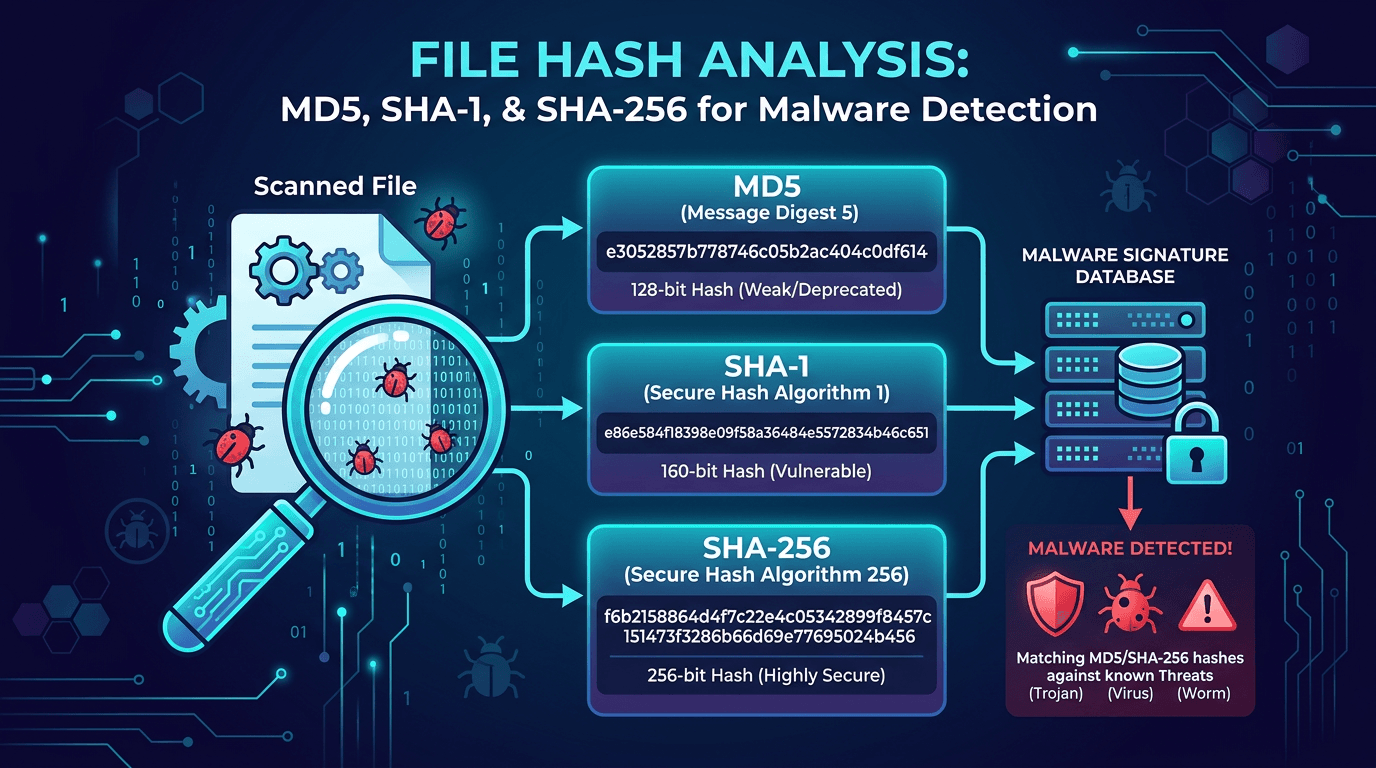 File Hash Analysis: MD5, SHA-1, and SHA-256 for Malware Detection and Threat Hunting
A practical guide to file hashes in cybersecurity—how MD5, SHA-1, and SHA-256 work, why they matter for malware detection, incident response, and threat hunting, and how to use hash lookups to enrich indicators of compromise.
Check any IP or domain
See what our indexed threat intelligence records say about it.
Try the IP / Domain Checker