How to Automate Malicious IP Blocking with Threat Intelligence APIs
Stop relying on static blocklists. Learn how to integrate real-time threat intelligence APIs into your firewalls and application logic to automatically detect and block malicious IP addresses before they strike.

The traditional approach to network security—relying on static blocklists updated daily or weekly—is fundamentally broken. Cybercriminals cycle through IPs constantly, renting infrastructure for hours or even minutes before moving on. By the time a malicious IP address makes it onto a static, publicly available blocklist, the attackers are already attacking from somewhere else.
To defend against modern threats like credential stuffing, automated vulnerability scanning, and distributed denial-of-service (DDoS) attacks, organizations must transition from reactive blocklists to automated, real-time threat intelligence.
In this guide, we'll cover why manual IP blocking fails and how to practically automate malicious IP blocking using Threat Intelligence APIs.
Why Static Blocklists Are Failing You
Static blocklists (like those found in basic firewall configurations) suffer from three critical flaws:
- High Latency: The "Time to Detect" (TTD) and "Time to Mitigate" (TTM) are simply too long. A compromised IoT device might scan your network for 15 minutes before its IP is burned. If your blocklist updates every 24 hours, you are defenseless during the attack.
- False Positives: IPs are frequently reallocated. An IP address used for a botnet yesterday might be assigned to a legitimate mobile user today. Static lists struggle to age out stale intelligence quickly enough, leading to blocked legitimate customers.
- Lack of Context: A static list simply says "Block this IP". It doesn't tell your Security Operations Center (SOC) why. Was the IP launching a DDoS attack? Was it a Tor exit node? Was it attempting SQL injection? Without context, incident response is blind.
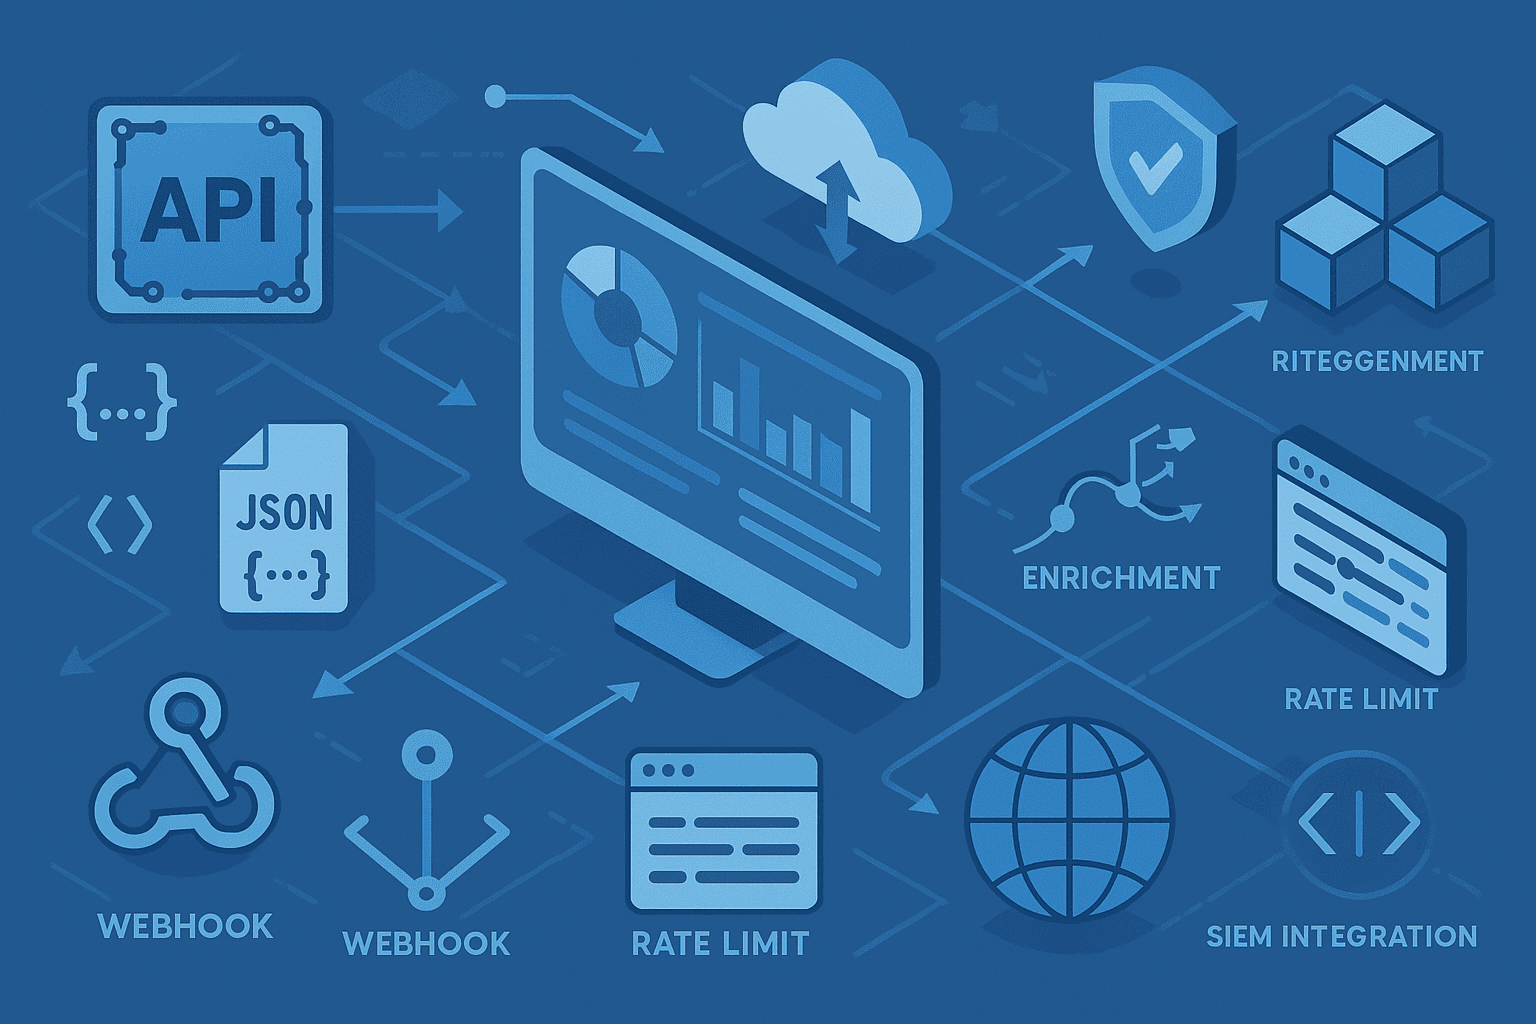
The Solution: Threat Intelligence APIs
A Threat Intelligence API provides programmatic access to real-time security data. Instead of downloading a massive text file of IPs, your application or edge network queries the API at runtime.
When a request hits your infrastructure, you can ask the API: "Is 198.51.100.42 currently known to be malicious?" The API responds instantly with a risk score and context, allowing your systems to make an automated decision.
Key Benefits of an API-Driven Approach
- Real-Time Accuracy: The data is live. As soon as an IP is detected participating in an attack globally, it is flagged by the API.
- Dynamic Mitigation: You aren't just blocking. You can implement rate-limiting, step-up authentication (like requiring a CAPTCHA or MFA), or silent dropping based on the exact risk score provided by the API.
- Actionable Context: APIs return rich metadata, such as the ASN, geographic location, hosting provider, and specific threat categories (e.g., "Botnet Command and Control," "Known Proxy," "Spam Source").
How to Implement Automated IP Blocking
Implementing automated IP blocking typically happens at one of three layers in your architecture.
1. At the Edge (CDN or WAF)
The most efficient place to block malicious traffic is at the edge of your network, before the request ever reaches your application servers.
If you use a modern Web Application Firewall (WAF) or CDN, you can often run edge compute functions (like Cloudflare Workers or AWS Lambda@Edge). You can write a lightweight script that intercepts incoming requests, queries the Threat Intelligence API asynchronously, and blocks the request if the risk score is too high.
2. In the Gateway or Load Balancer
If edge computing isn't an option, the API Gateway or Load Balancer (like NGINX or HAProxy) is the next best layer. Many modern gateways support Lua scripts or WebAssembly (Wasm) plugins. You can implement a plugin that validates the client IP against the API and drops the connection early in the request lifecycle.
3. Within the Application Logic (Middleware)
For maximum control—especially if you want to tie risk scores to specific user actions like login attempts or checkout flows—you can integrate the API right into your application's middleware.
For example, in a Next.js or Express.js application, you can create a middleware function that checks the x-forwarded-for header.
Best Practices for API Integration
When integrating a Threat Intelligence API for automated blocking, keep these best practices in mind:
Implement Aggressive Caching
You do not want to query the API for every single HTTP request. This adds latency and increases API costs. Implement a local caching layer (like Redis or Memcached). When an IP is checked, cache the result for 5 to 15 minutes.
Fail Open
Your primary application should not go offline if the Threat Intelligence API experiences a temporary outage or network blip. Always implement a "fail open" policy: if the API times out, allow the connection to proceed (or fall back to a static, local cache).
Use Webhooks for Fast Updates
Some advanced Threat Intelligence platforms, like isMalicious, offer webhooks. Instead of polling for updates, the platform can push a payload to your firewall or orchestration tool the exact microsecond an IP transitions to a 'malicious' state.
Moving to Active Defense
The era of manual, reactive security is over. Attackers are using automated tools and AI to scale their operations. Defenders must adopt the same automated, programmatic approach.
By integrating a Threat Intelligence API into your infrastructure, you transition from slow, error-prone static blocklists to an active defense posture. You stop the attacks before your application ever has to process the malicious request, saving compute resources, reducing log noise, and dramatically shrinking your attack surface.
Ready to automate your defenses? Explore the isMalicious Real-Time IP Threat Intelligence API and start automatically blocking bad actors today.
Related articles
 Feb 14, 2026VirusTotal Alternative for IP and Domain Reputation APIs
Compare VirusTotal and isMalicious for IP, domain, URL, and file-hash reputation workflows. See when VirusTotal is better for malware analysis and when an API-first alternative fits SOC automation.
 Feb 12, 2026AlienVault OTX Alternative: API-First Threat Intelligence Without Vendor Lock-In
AlienVault OTX is a useful community threat intelligence platform. Compare OTX and isMalicious for API access, IOC enrichment, integrations, monitoring, and vendor independence.
 Sep 13, 2025API Integration for Threat Intelligence: Automate Your Security
Discover how integrating threat intelligence APIs can transform your security infrastructure. Learn best practices for automated threat detection, real-time monitoring, and seamless integration with your existing systems.
Protect Your Infrastructure
Check any IP or domain against our threat intelligence database with 500M+ records.
Try the IP / Domain Checker